We have been using the kitchen since we moved in and had completed most of the work in October. I revealed the range and the sink in prior posts, but I haven’t shared the full before-and-after because we were missing one major detail….cabinet doors. I do find it kind of funny how many people thought it was complete when they came over.
Well, I can happily say that it is now 95% complete. (Is anything ever 100% complete in an old house?)
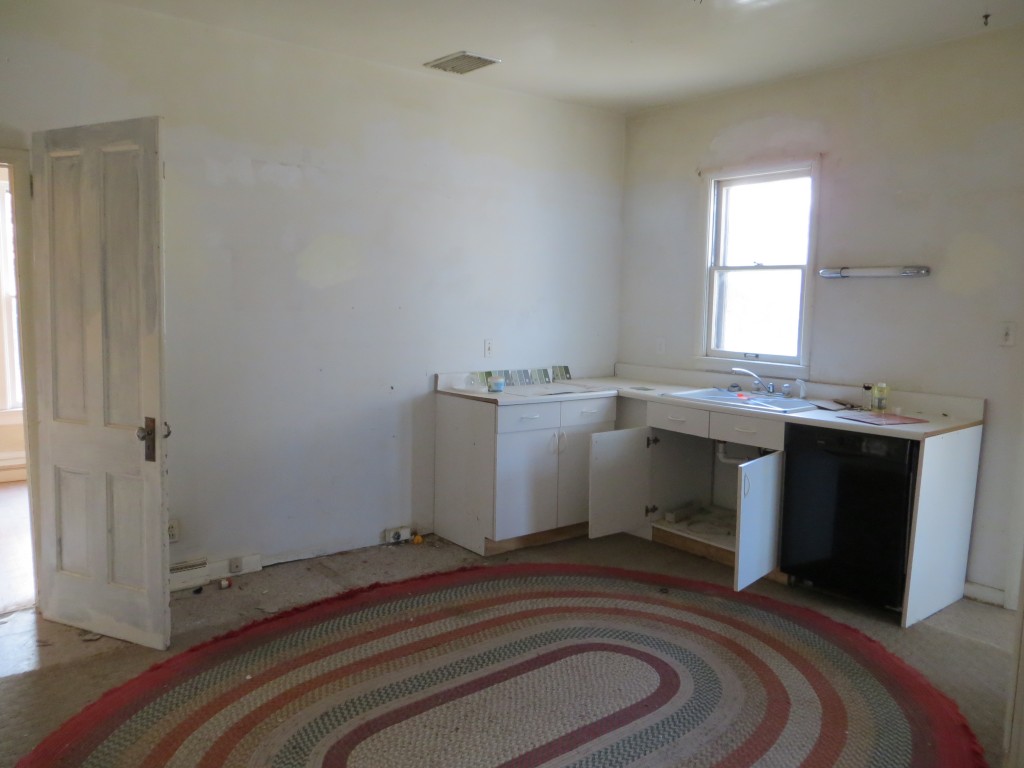
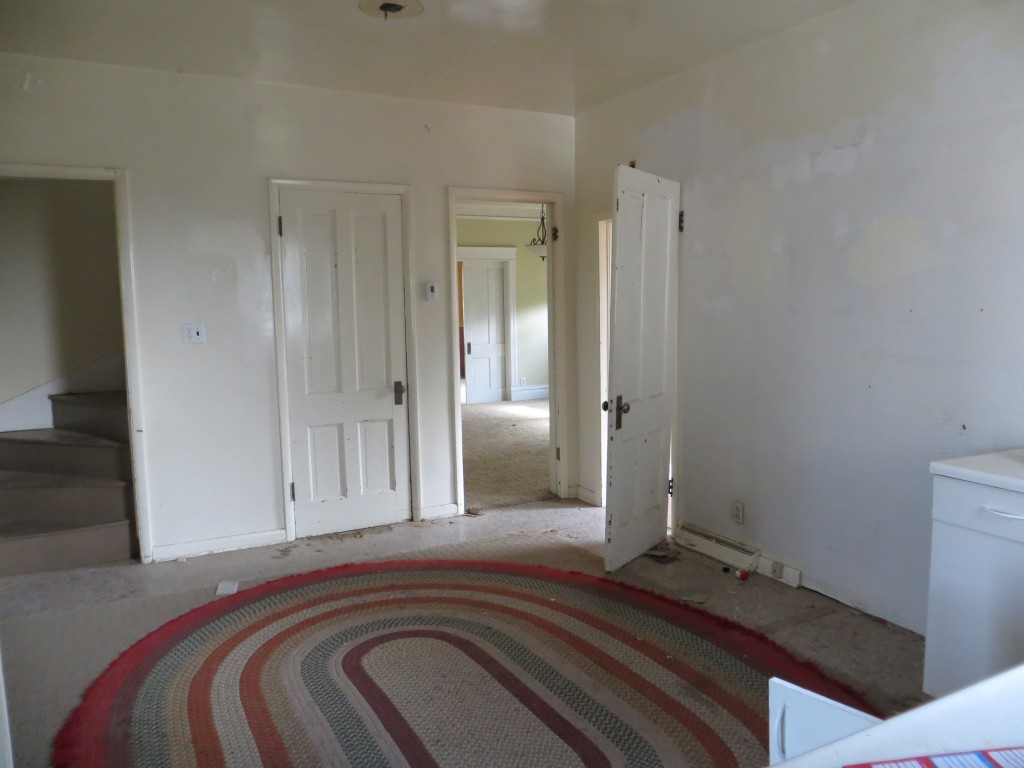
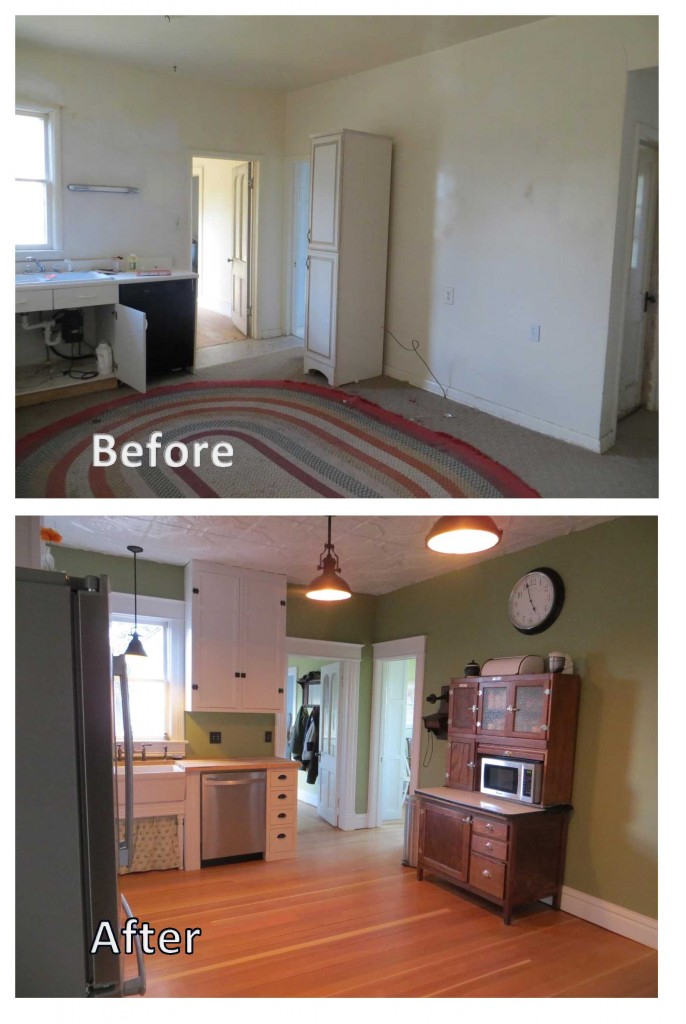
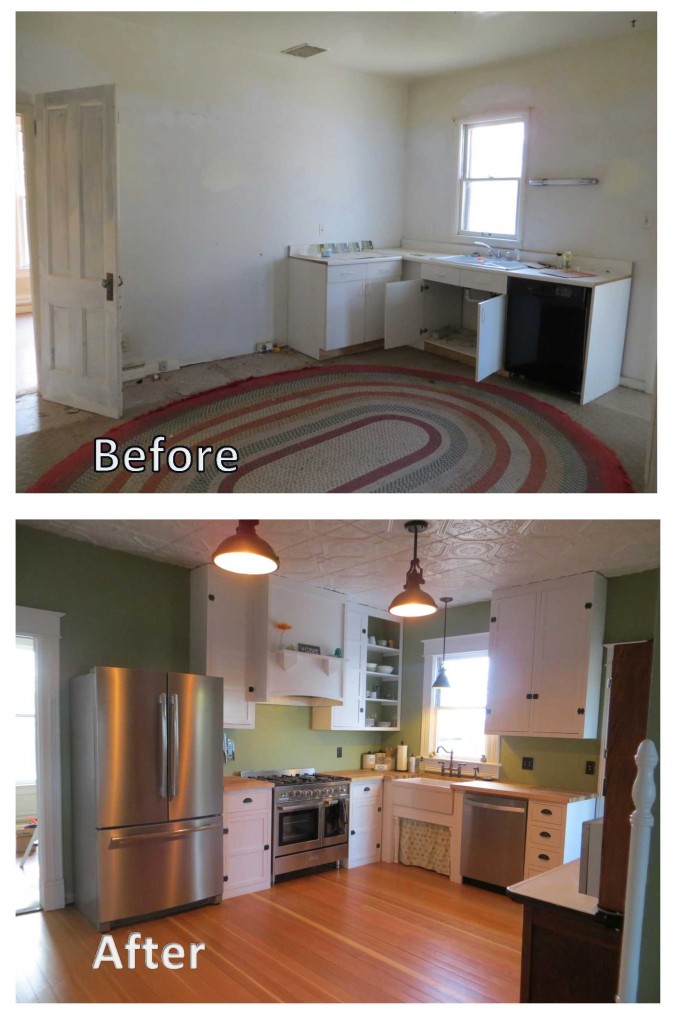
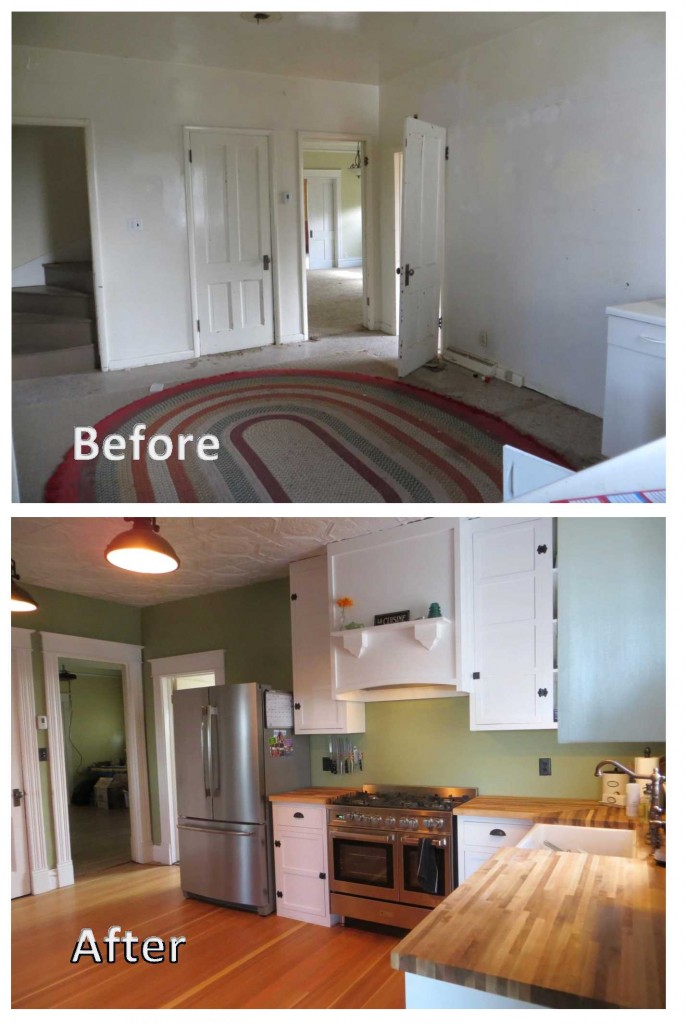
Here is the kitchen before:
As you can see, there were virtually no cabinets, no appliances, the floor was in rough shape, and all the trim had all been replaced. What you can’t see is how “spongy” the floor felt. Every time you walked through the room, the cabinet doors would clatter from the floor moving. A bit disconcerting to be sure.
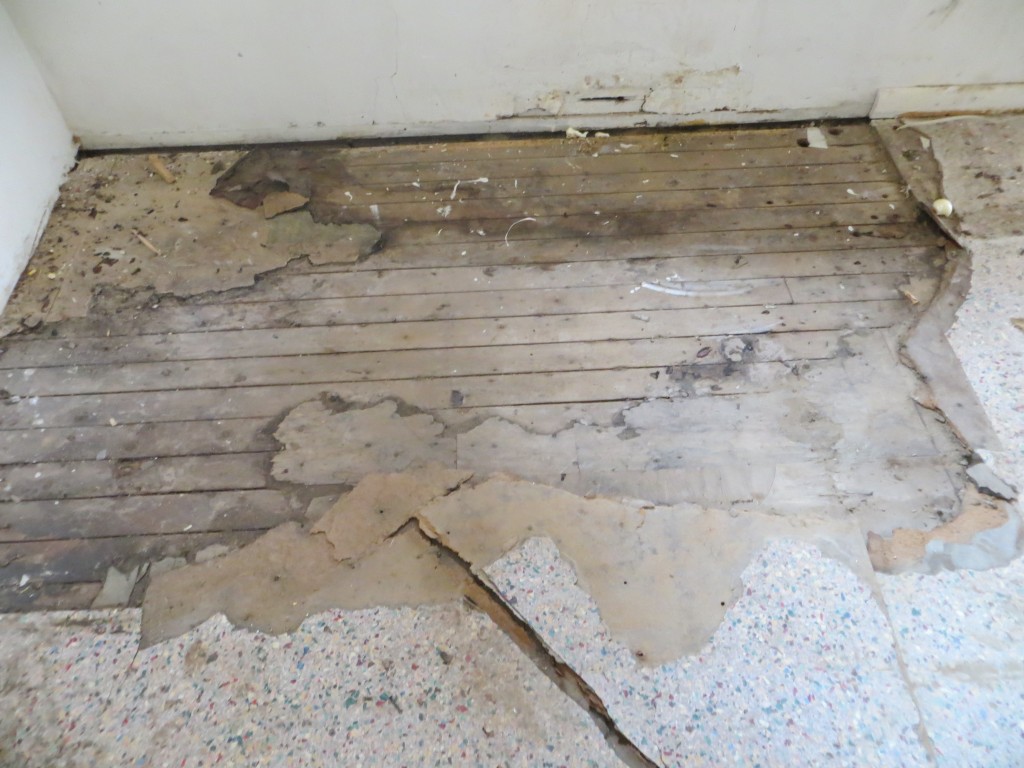
Before repairing the spongy floor, we wanted to see how careful we had to be with the original floors. We would always rather save the original floors, but unfortunately we could not in this case. The hardwoods under the linoleum were just too far gone. They were stained and damaged beyond repair.
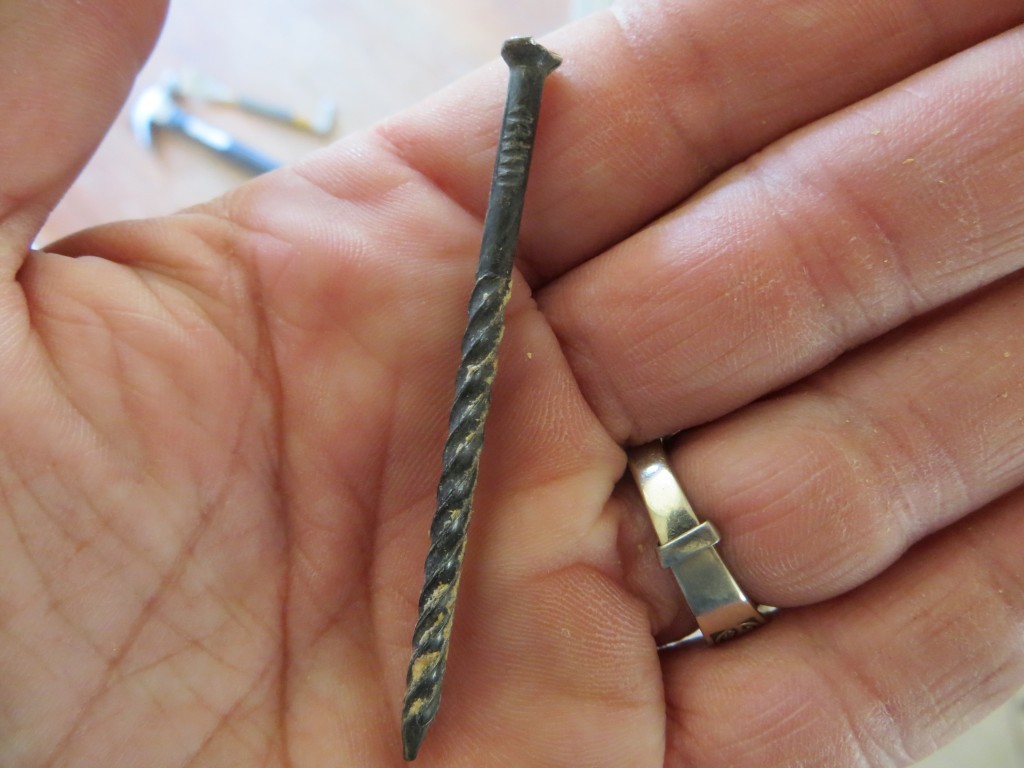
And they smelled…bad…who knows of what. So, up came the linoleum and the hardwood floors. No easy task when the hardwoods were nailed down with these:
After the floors came up, we had to sure up the floor. To do this, we had to run a 25 ft. microlam board all the way under the house and jack it up with floor jacks. The floor jacks were then cemented into caisons.
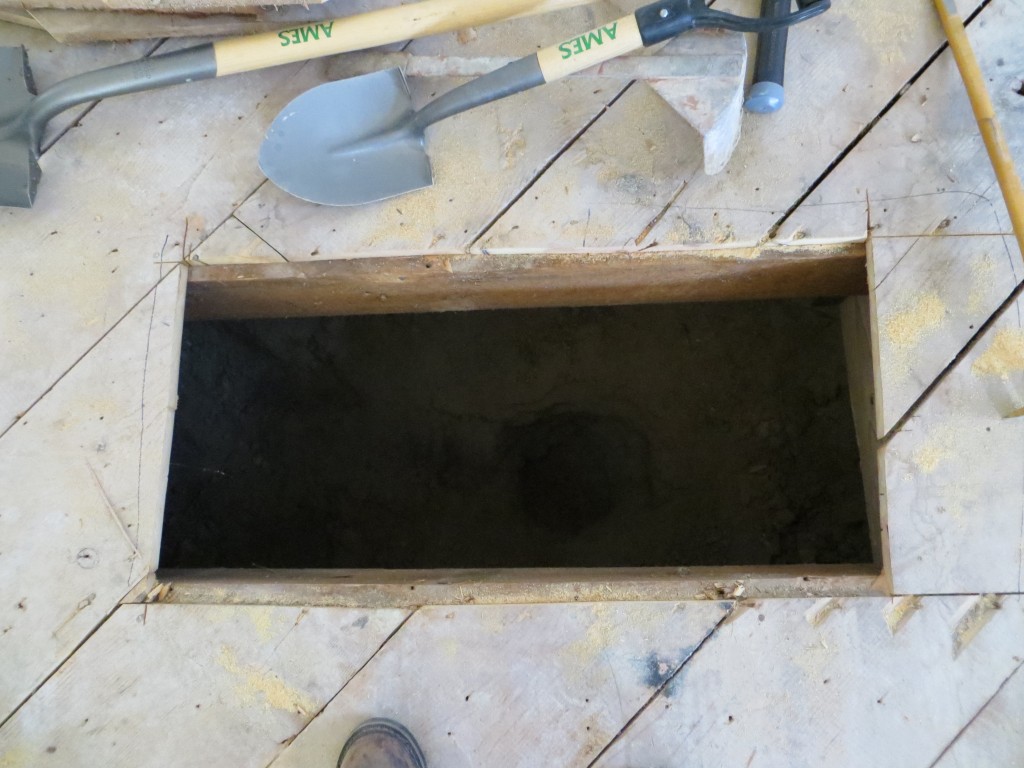
Here, you can see the hole we cut into the kitchen sub floor so we could pour the cement into the caison for the floor jack. It was fun to watch the big men wiggle in and out of this hole to dig the hole in the ground and set the floor jack. Cheap entertainment.
I won’t bore you with all the details, but here is what we ended up doing when it was all said and done:
- Remove linoleum and hardwood flooring
- Repair sagging floor
- Rewire and replumb everything
- Remove the 1950’s style trim and replace with custom milled trim to match the original trim in the house.
- Patch the plaster
- Install the tin ceiling
- Paint
- Have flooring custom milled and installed to match the original flooring in the house.
- Install new gas line for the range
- Install all new appliances
- Build and install all cabinets – hubby built all the cabinets!
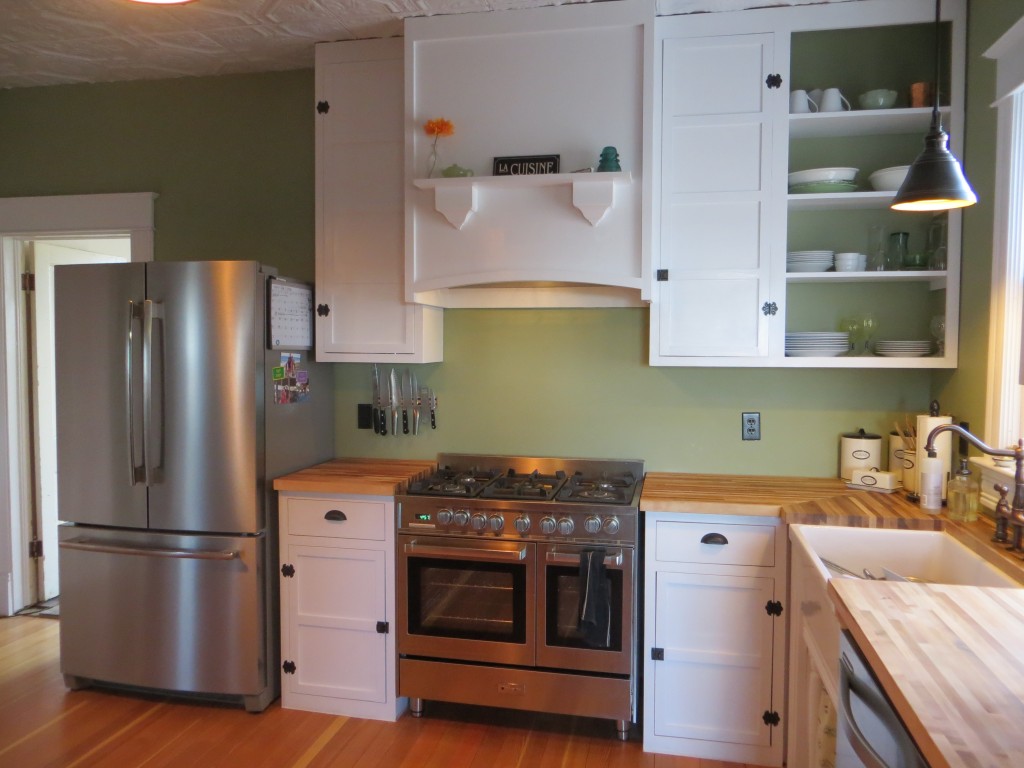
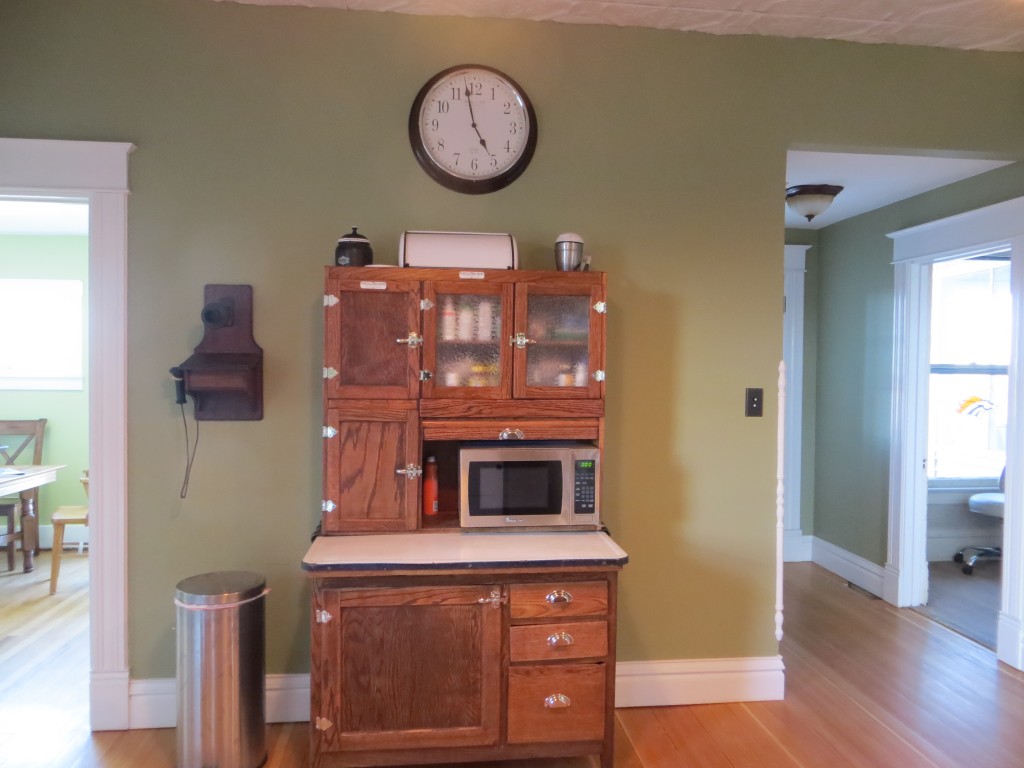
So, without further adieu….here are the afters:
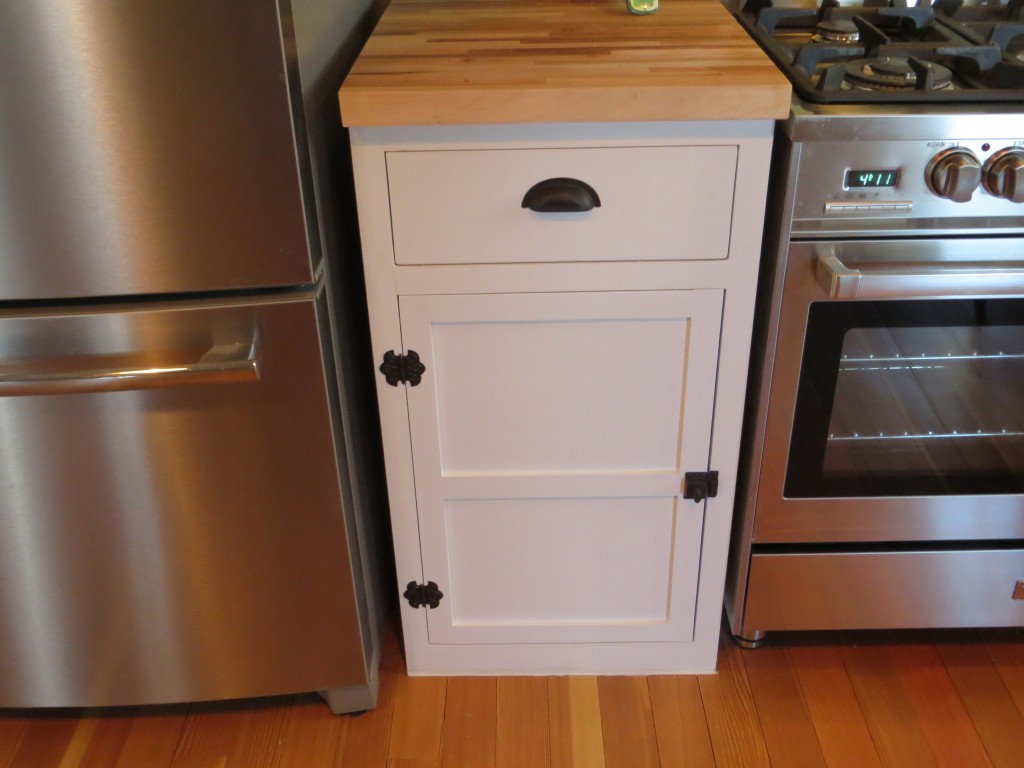
Here are the cabinets that hubby made. Didn’t he do an awesome job? It only took 5 months to get them done, but totally worth it. And we probably saved $20,000 by building them ourselves.
And here are the side by sides:
So, there you go! Still lots to do (like most of the rest of the house), but at least I can cook in a beautiful space! And, living too far out of town for pizza delivery means I better cook!
We still plan on doing some trim work, will add a backsplash behind the range, and will eventually build the refrigerator into a cabinet, but for now we are done!
Annie, you guys did a beautiful job. I love it!
WOW! What a difference! I love the cabinets! I like that they go all the way up, after living in a house where they didn’t, that space between the cabinets and the ceiling only gets gross…
Thank you! That was another reason we wanted to build them ourselves….we could get just what we wanted.
Amazing! Very cool – thanks for sharing. Given you did so much by yourselves..even more to be proud of.
Thank you!
I don’t suppose you would want to come to Texas to do my kitchen….. Love Love Love what you did!!!
LOL! Thank you so much! It was fun to design and put together!
Beautiful!
Thank you! Glad you like!
You two have done a wonderful job of making an old kitchen not only look new but it is new. It has all the character of the old home with all new modern conveniences! Love it! Old kitchen with saggy floor no more! New kitchen spanky and clean, love it!
Looks like it was always like that, except for the refrigerator…and the microwave…and the dishwasher…
I know the wait was worth it and really glad you are at t
his point. Looks wonderful!!
Thank you for all YOU did to make it happen!
Pingback: Proper care and feeding of butcher block counter tops | Our House Journey