When we designed our kitchen, I researched counter tops heavily. One of our goals in this house is to make it feel like it may have when it was built. Common counter tops of the time were usually wood or soapstone. I like the warmth of wood and have always wanted butcher block counter tops, so that’s what we went with.
One issue with butcher block is sealing the wood. There are too many options and opinions to go through each here, but I can tell you the three main sealing processes I focused on.
The first option was using polyurethane. This is the same thing we use on our floors (and what we had on our non-butcher block, but wood counters at our last house). It is durable, waterproof after drying, and beautiful. The problem? It’s not clear if it is food safe. The option of using the butcher block for cutting of any sort is out.
The second option I looked in to was using tung oil. Tung oil comes from the nut of the tung tree. It is advertised as “environmentally friendly” and food safe. I was set on using tung oil until I put together that it comes from tree nuts and I am allergic to tree nuts. So, if any oil absorbed in to food I was preparing, there was a chance that I would have an allergic reaction.
The third option, and the one I settled on, was using spoon oil. Spoon oil gets its name because many people use it on their wooden spoons. It helps keep the wood from drying and provides a water resistant seal. It’s cheap, you can make it yourself, and it is completely food safe.
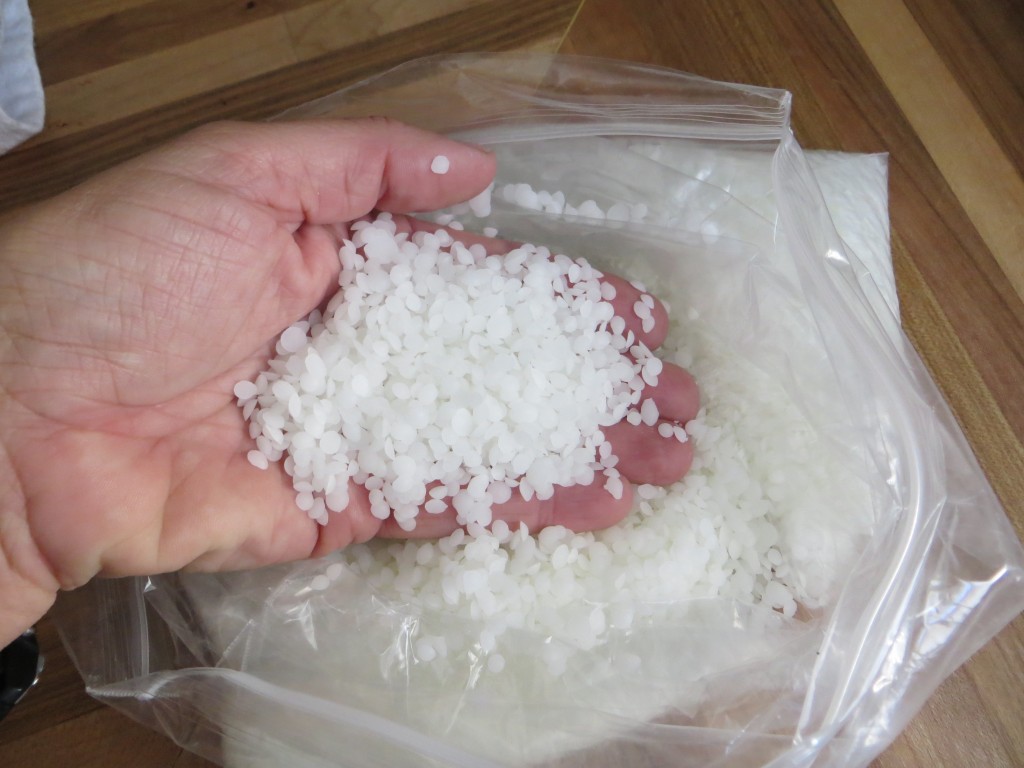
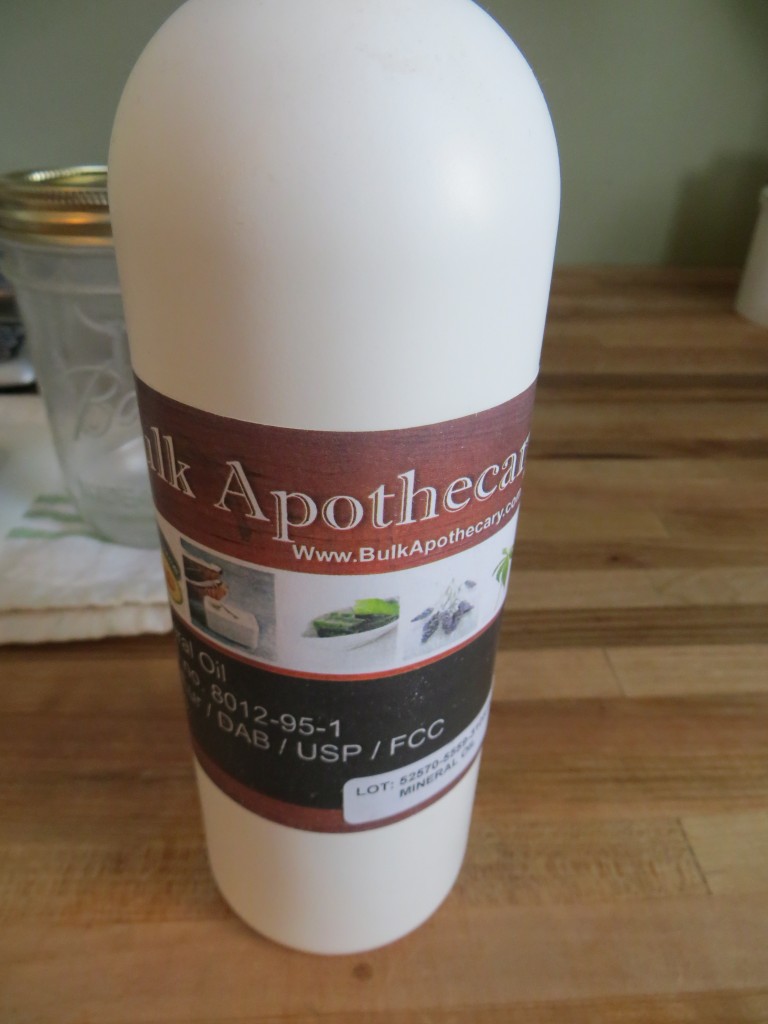
To make spoon oil, you need about 1/4 cup of beeswax and 16 oz. of mineral oil. I ordered mine from www.bulkapothecary.com. I ordered white beeswax because I didn’t want the yellow color to change the color of the wood. I also ordered pellets instead of blocks because I thought it would be easier to melt.
I ordered my mineral oil from the same place. They have food grade mineral oil, but you can apparently get that at the pharmacy as well (I guess it is a laxative).
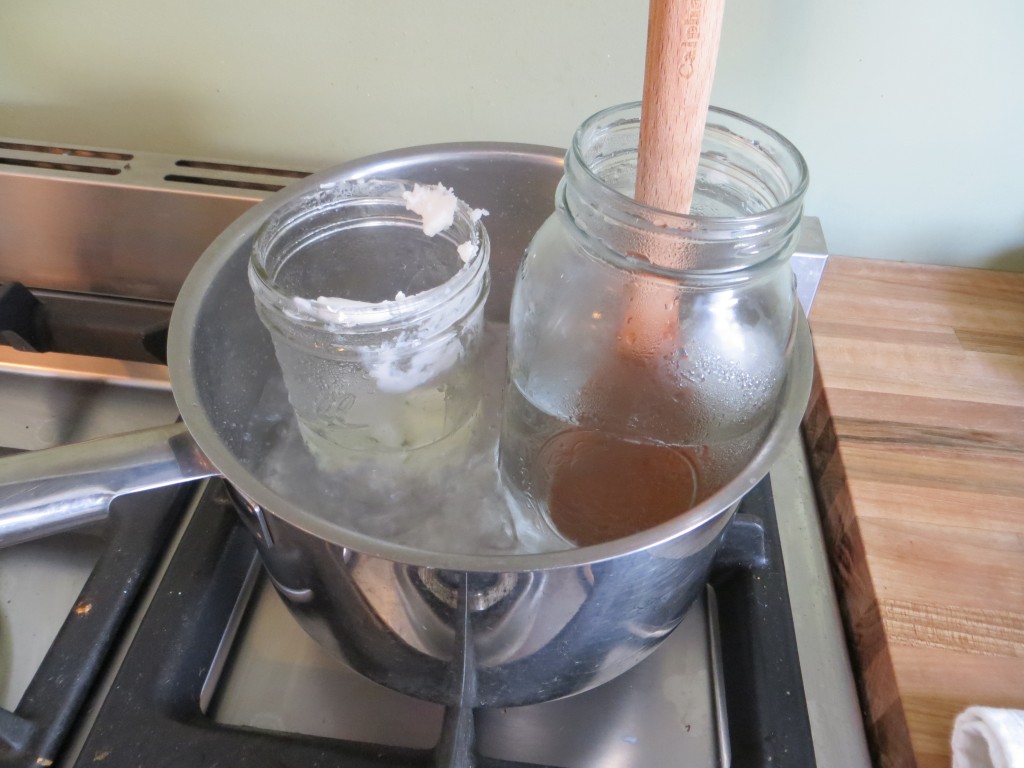
First, I set up a large sauce pan about half full of water on medium/high heat. I then put the beeswax in to a medium sized mason jar. This jar will be used later for the complete mixture. This goes into the sauce pan and is allowed to heat until the beeswax melts. Once the melting has begun, I put the mineral oil in a larger mason jar and place it in the hot water bath to warm up. This larger jar will be used for mixing the two components together.
Once the beeswax has completely melted and the mineral oil has warmed, pour the beeswax into the mineral oil and stir. Keep this over heat as it helps the mixture blend.
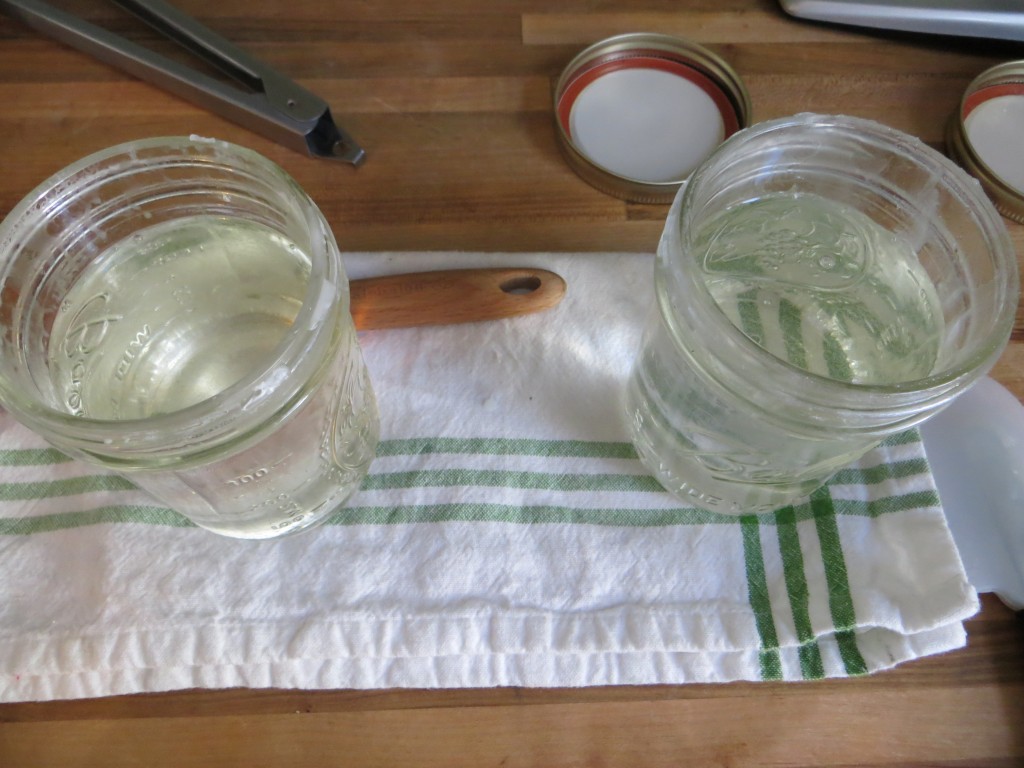
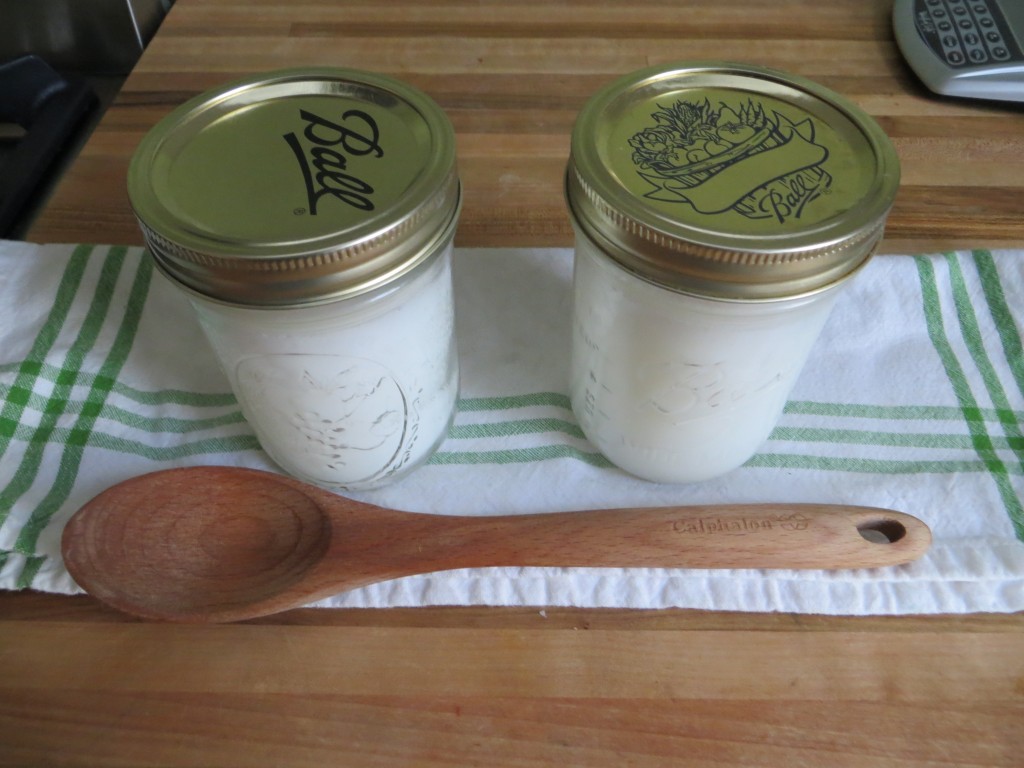
Once the mixture is blended, pour into smaller jars. I guess you don’t have to do this, but using smaller jars will help with application later. I use my hands to apply the stuff once it has cooled and it’s harder to get your hand in the larger jars. Careful when pouring…it’s hot!!
After the spoon oil cools, it will look like this:
Now, if you don’t have butcher block counter tops, you can still use this for your wooden spoons and butcher block cutting boards! If you do have butcher block counter tops….here’s how it is applied. Warning: you have to get your hands dirty!
First, make sure the counter tops are clean of any dirt, debris, and dust. Then, spread the spoon oil on the counters liberally. I use my hands for this. Just dig in to the jar and smear it around. I find using my hands allows me to “feel” where the dry areas are. It gives me more control and I get a nice, even, thick coat all over. An added bonus is the beeswax/mineral oil mixture is a nice moisturizer for your hands!
Then, let it sit for a while. I usually apply the oil either first thing in the morning and let it sit all day, or do it just before bed and let it sit all night. Next, take a clean cotton cloth and “buff” the counter top. This removes all the excess oil. The counter will be a little greasy for a day or so after, but the oil absorbs in quickly. It’s amazing to see water bead up on wood counter tops!
When we first installed the counter tops, I put spoon oil on a couple times before using them. Now, I do it when they look “dry” or when water no longer beads up. This is every couple months. One batch of spoon oil (2 mason jars full) lasts me about a year.
I still use the flexible plastic cutting boards to do most of my chopping and all of my meat preparation. But, if I make a sandwich on the counter top, I’m not stressed about food safety. I do occasionally cut a loaf of bread on the counter and I always knead dough on the counter. It’s nice to know there are no little chips of polyurethane in our food!
One of the greatest things about having spoon oiled counter tops is when there is a stain or when one of the children “accidentally” writes on the counter with a pen….ahem….you can sand out the stain and reapply the spoon oil in that area. Voila! Fixed!
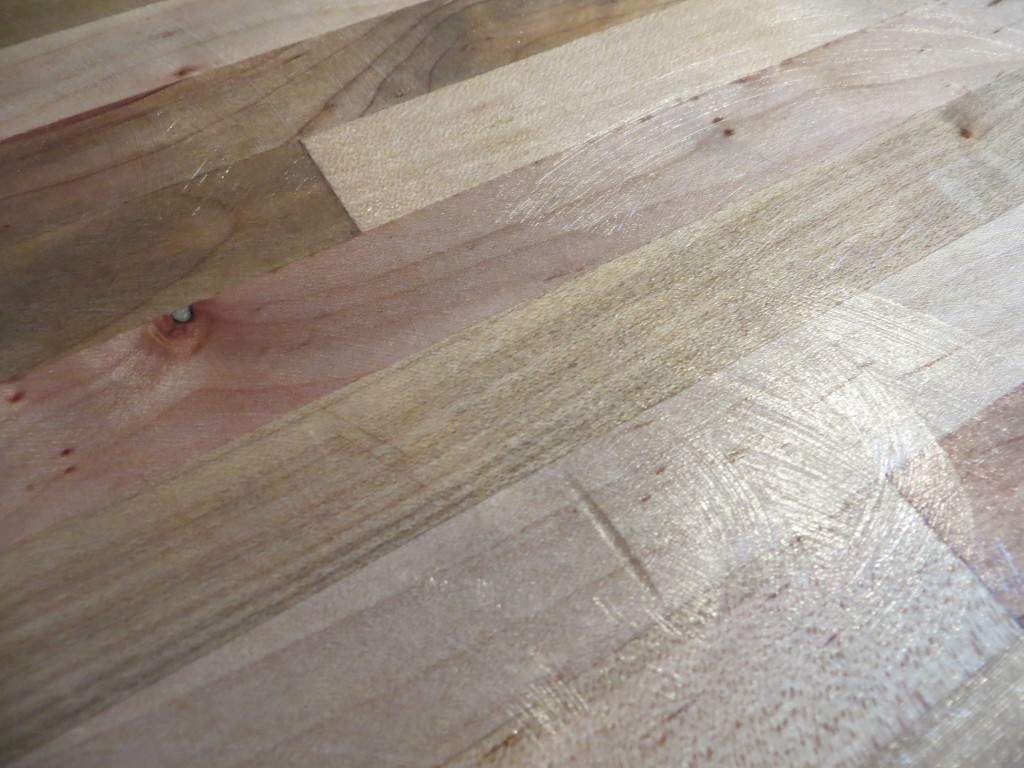
And they look beautiful!
Neat! You are teaching all of us new things with your projects.