It seems like the wallpaper challenge did not end with wallpaper location. The challenge had really only begun.
Someone once told me that if you want to test the strength of your marriage…..hang wallpaper together. Hubby and I have tackled this task before. In our first house, we wallpapered an entire 25′ x 15′ ceiling! Even though it had been a while, we figured if we could wallpaper a ceiling…walls would be easy.
Delusional, I know.
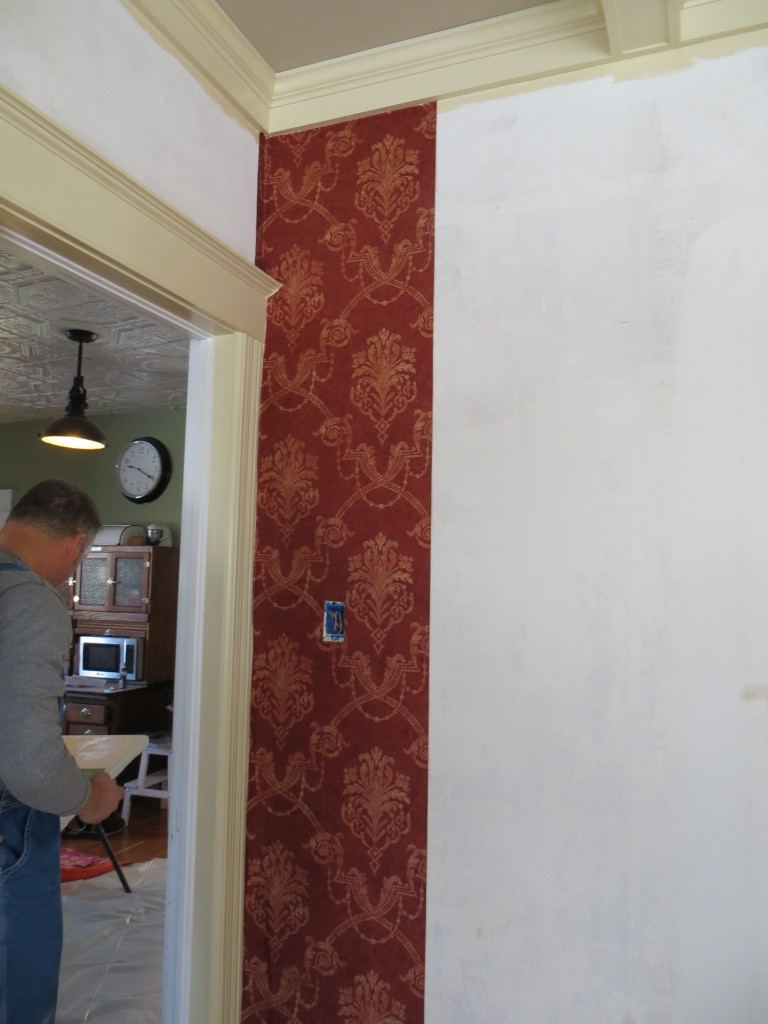
We started hanging wallpaper yesterday. The first strip went well enough.
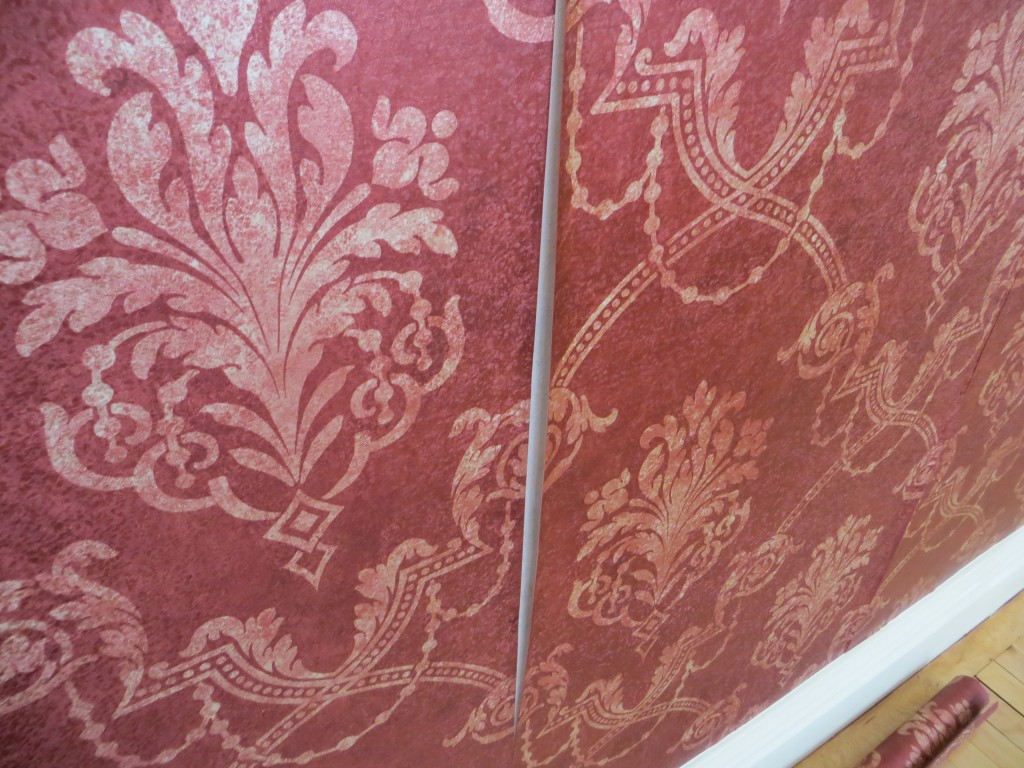
The second strip went up pretty well, too. We cut the third strip, had it ready to go up, when I noticed a problem. We had the pattern wrong on the second strip. Crap. We didn’t panic….it was only the second strip and at least we caught it right away! We peeled the strip off, threw it away, and tried again. We managed to get the pattern correct, but we had a new problem….the seams wouldn’t stick down.
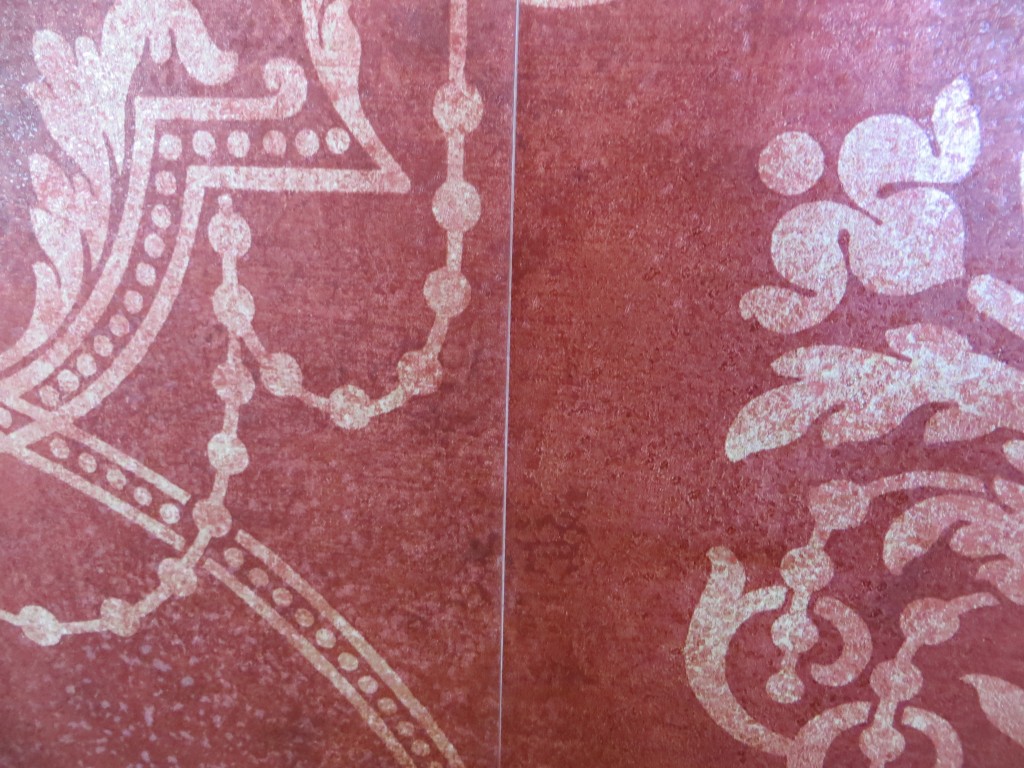
We decided to press on, do the best we could, and come back with a little bit of glue to fix the seam issues. The rest of the day went well. It took us 5.5 hours, but we got two of the four walls done, our technique got better, and we were feeling more confident. This morning, we got up ready to finish off the job and this is what we found:
The incredible shrinking wallpaper. What once was a nice wallpaper butt joint with no white primer showing is now a lovely white pinstripe down the wall. How vinyl wallpaper shrinks, I’ll never know. Fortunately, there weren’t too many of these. We think we’ll be able to use a teeny tiny brush and some paint to pant the lines so you won’t even notice.
We decided to press on. What choice did we have, really? The third wall has three windows with very detailed trim. This wall took us nearly 3 hours. Ugh. The fourth wall was pretty easy and took us about an hour. Like every other project, we got really efficient and figured out the best way to do things when we were nearly finished.
So, what did we learn?
- Tint the wallpaper primer the same color as the background of your wallpaper before you paint it on. This way if you have any shrinkage or gaps, you won’t notice them. (We didn’t do this….)
- Do….Not….Rush. Seriously, take your time. I think we thought we’d get done much faster than we did.
- Overlap the wallpaper just slightly (like 1mm or less) to avoid the problem addressed in #1. (We figured this out after we encountered the problem addressed in #1)
- Work the paper from the center to the edge and push a tiny amount of glue to the edge so your seams stick. Wipe up any big globs of glue while wet. (We figured this out about 3/4 of the way through the job)
- After you wet your wallpaper, you have to fold the paper paste side to paste side. This is called “booking”. The purpose of this is (I think) to let the paste get wet and sticky and to let the paper “relax”. At first, we let the wallpaper “book” for 2 minutes which was the time indicated on the instructions. We found that letting it sit for a little longer made it easier to work with. (We figured this out about 4/5 of the way through the job)
- Have a plan when it comes to tough spots. Talk about your plan with each other, think about the best way to tackle those spots. THEN get the paper unrolled and ready to go.
- You and your hanging partner may have different ways of doing things. As long as the finished product looks good…..who cares?! Hubby kept using his construction tools (razor and straight edge) and I drug out my quilting tools. His tools worked for him, mine worked for me!
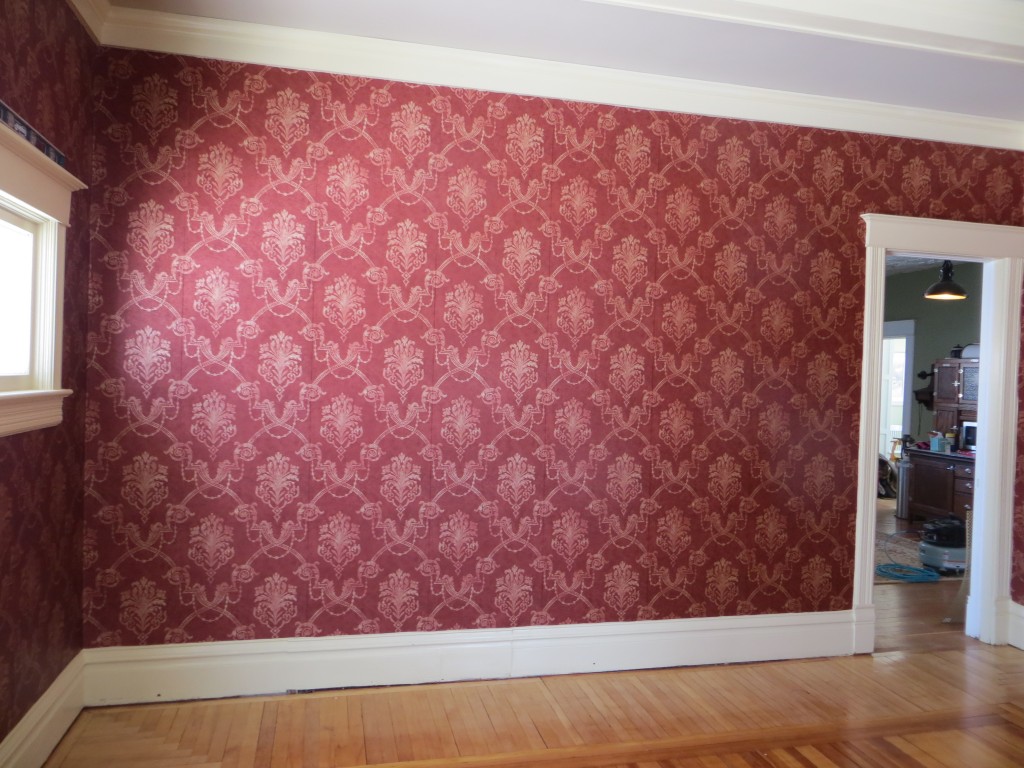
The end result? Looks pretty darn good (even if I do say so myself). Was it worth it?
I think so!
Oh, and we are still speaking to each other, so that’s a good thing!


I love the wallpaper job you two did! Good job figuring it out and getting it done. It’s lovely!